I have contemplated this decision for some time now, and it is driven by several compelling reasons. Were I a paying customer, I am confident that both options would cater to my requirements, although I must highlight that Cloudflare offers a more extensive array of paid benefits and features.
Let’s delve into the rationale behind this transition:
- Enhanced Security: Employing DigitalOcean as my DNS exposes my server’s address to anyone who pings my domain name. The more information adversaries have, the greater the potential risk. In contrast, Cloudflare provides a free service that routes requests through its reverse proxy. Consequently, pinging my domain name now yields only Cloudflare server information.
- CDN (Content Delivery Network): A CDN consists of geographically distributed servers that expedite web content delivery by positioning it closer to end-users.
- Future-Proofing: Cloudflare boasts a plethora of features, some of which may be unfamiliar. Neglecting to explore these features can quickly render your site inaccessible. Therefore, exercising caution is imperative. My decision to migrate is fueled by the intention to leverage a specific feature for an upcoming project.
The transition process can be summarized as follows:
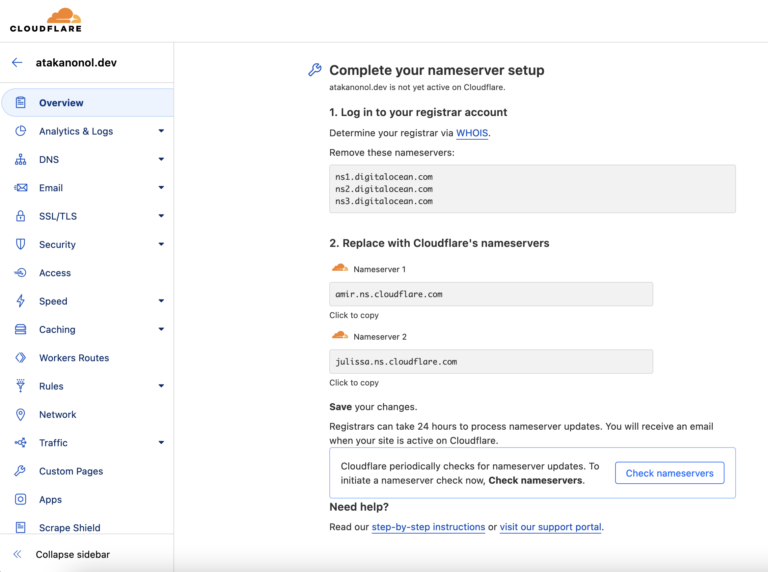
- Cloudflare Account Setup: Begin by logging into your existing Cloudflare account or creating a new one. On the Cloudflare dashboard, you will either see your existing domain names or receive guidance on adding your domain name. Cloudflare will conduct a WHOIS lookup to identify its registration status and provide instructions accordingly.
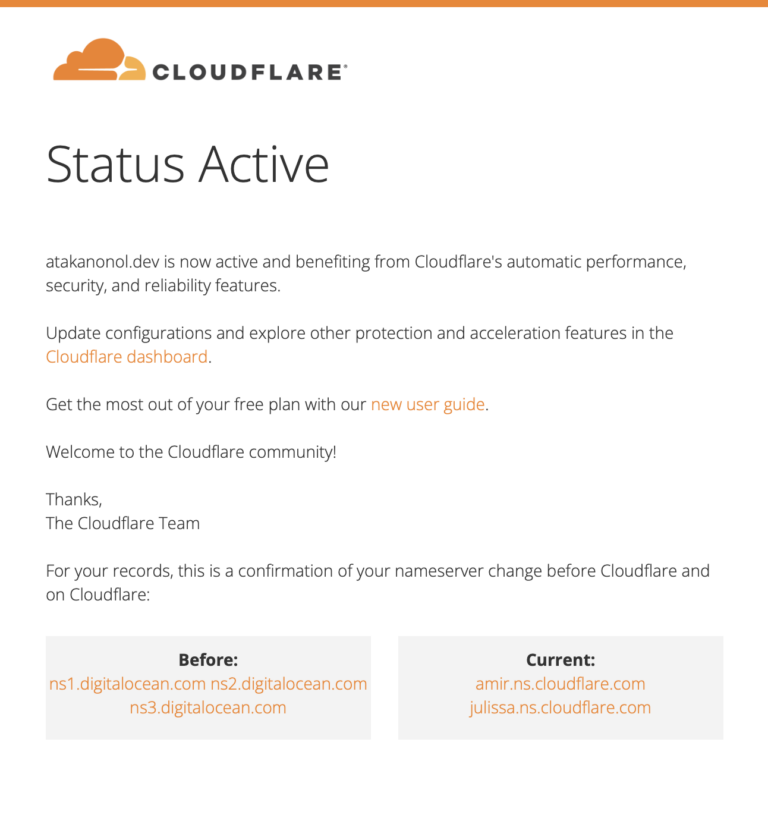
- Nameserver Configuration: In my case, my domain was registered with Google Domains (soon to be Squarespace). I accessed my Google Domain dashboard to replace the DigitalOcean nameservers with Cloudflare’s nameservers.
DNS Configuration: After completing the nameserver update, a waiting period ensues. However, you need not twiddle your thumbs during this interval. Navigate to the DNS section and create the necessary records.
- Click on the DNS option on the left-hand panel.
- Add an A record for your domain name.
- Additionally, incorporate CNAME records for subdomains. CNAME records allow you to map subdomains to aliases rather than specific IP addresses. In my case, I used “atakanonol.dev” as the alias, which points to the server address. The advantage here is that future changes, such as altering the server’s location or IP address, necessitate only an adjustment to the A record, and all other configurations will automatically reflect the change.
- Don’t forget to find and record your IPv6 address for the AAA record, ensuring your readiness for future considerations.
- Confirmation and Testing: Await an email confirming that your configurations are in order. Subsequently, conduct tests to ensure the functionality of your links.